
Topo Workflows 2.0
The power of Land Kit - without touching Grasshopper
Always wanted to try Land Kit but maybe not ready for Grasshopper (ever)? Well worry no longer! With the Topo Workflows, you can iterate site grading to your heart’s content all without ever opening Grasshopper. The new and improved Topo Workflow 2.0 expands upon previous workflows by integrating additional features and analysis, such as water analysis and carbon calculation. Use metric or imperial units with the same Grasshopper script and enjoy a new scalable user interface!
The updated Topo Workflow 2.0 requires a trial or full license of Land Kit to run.
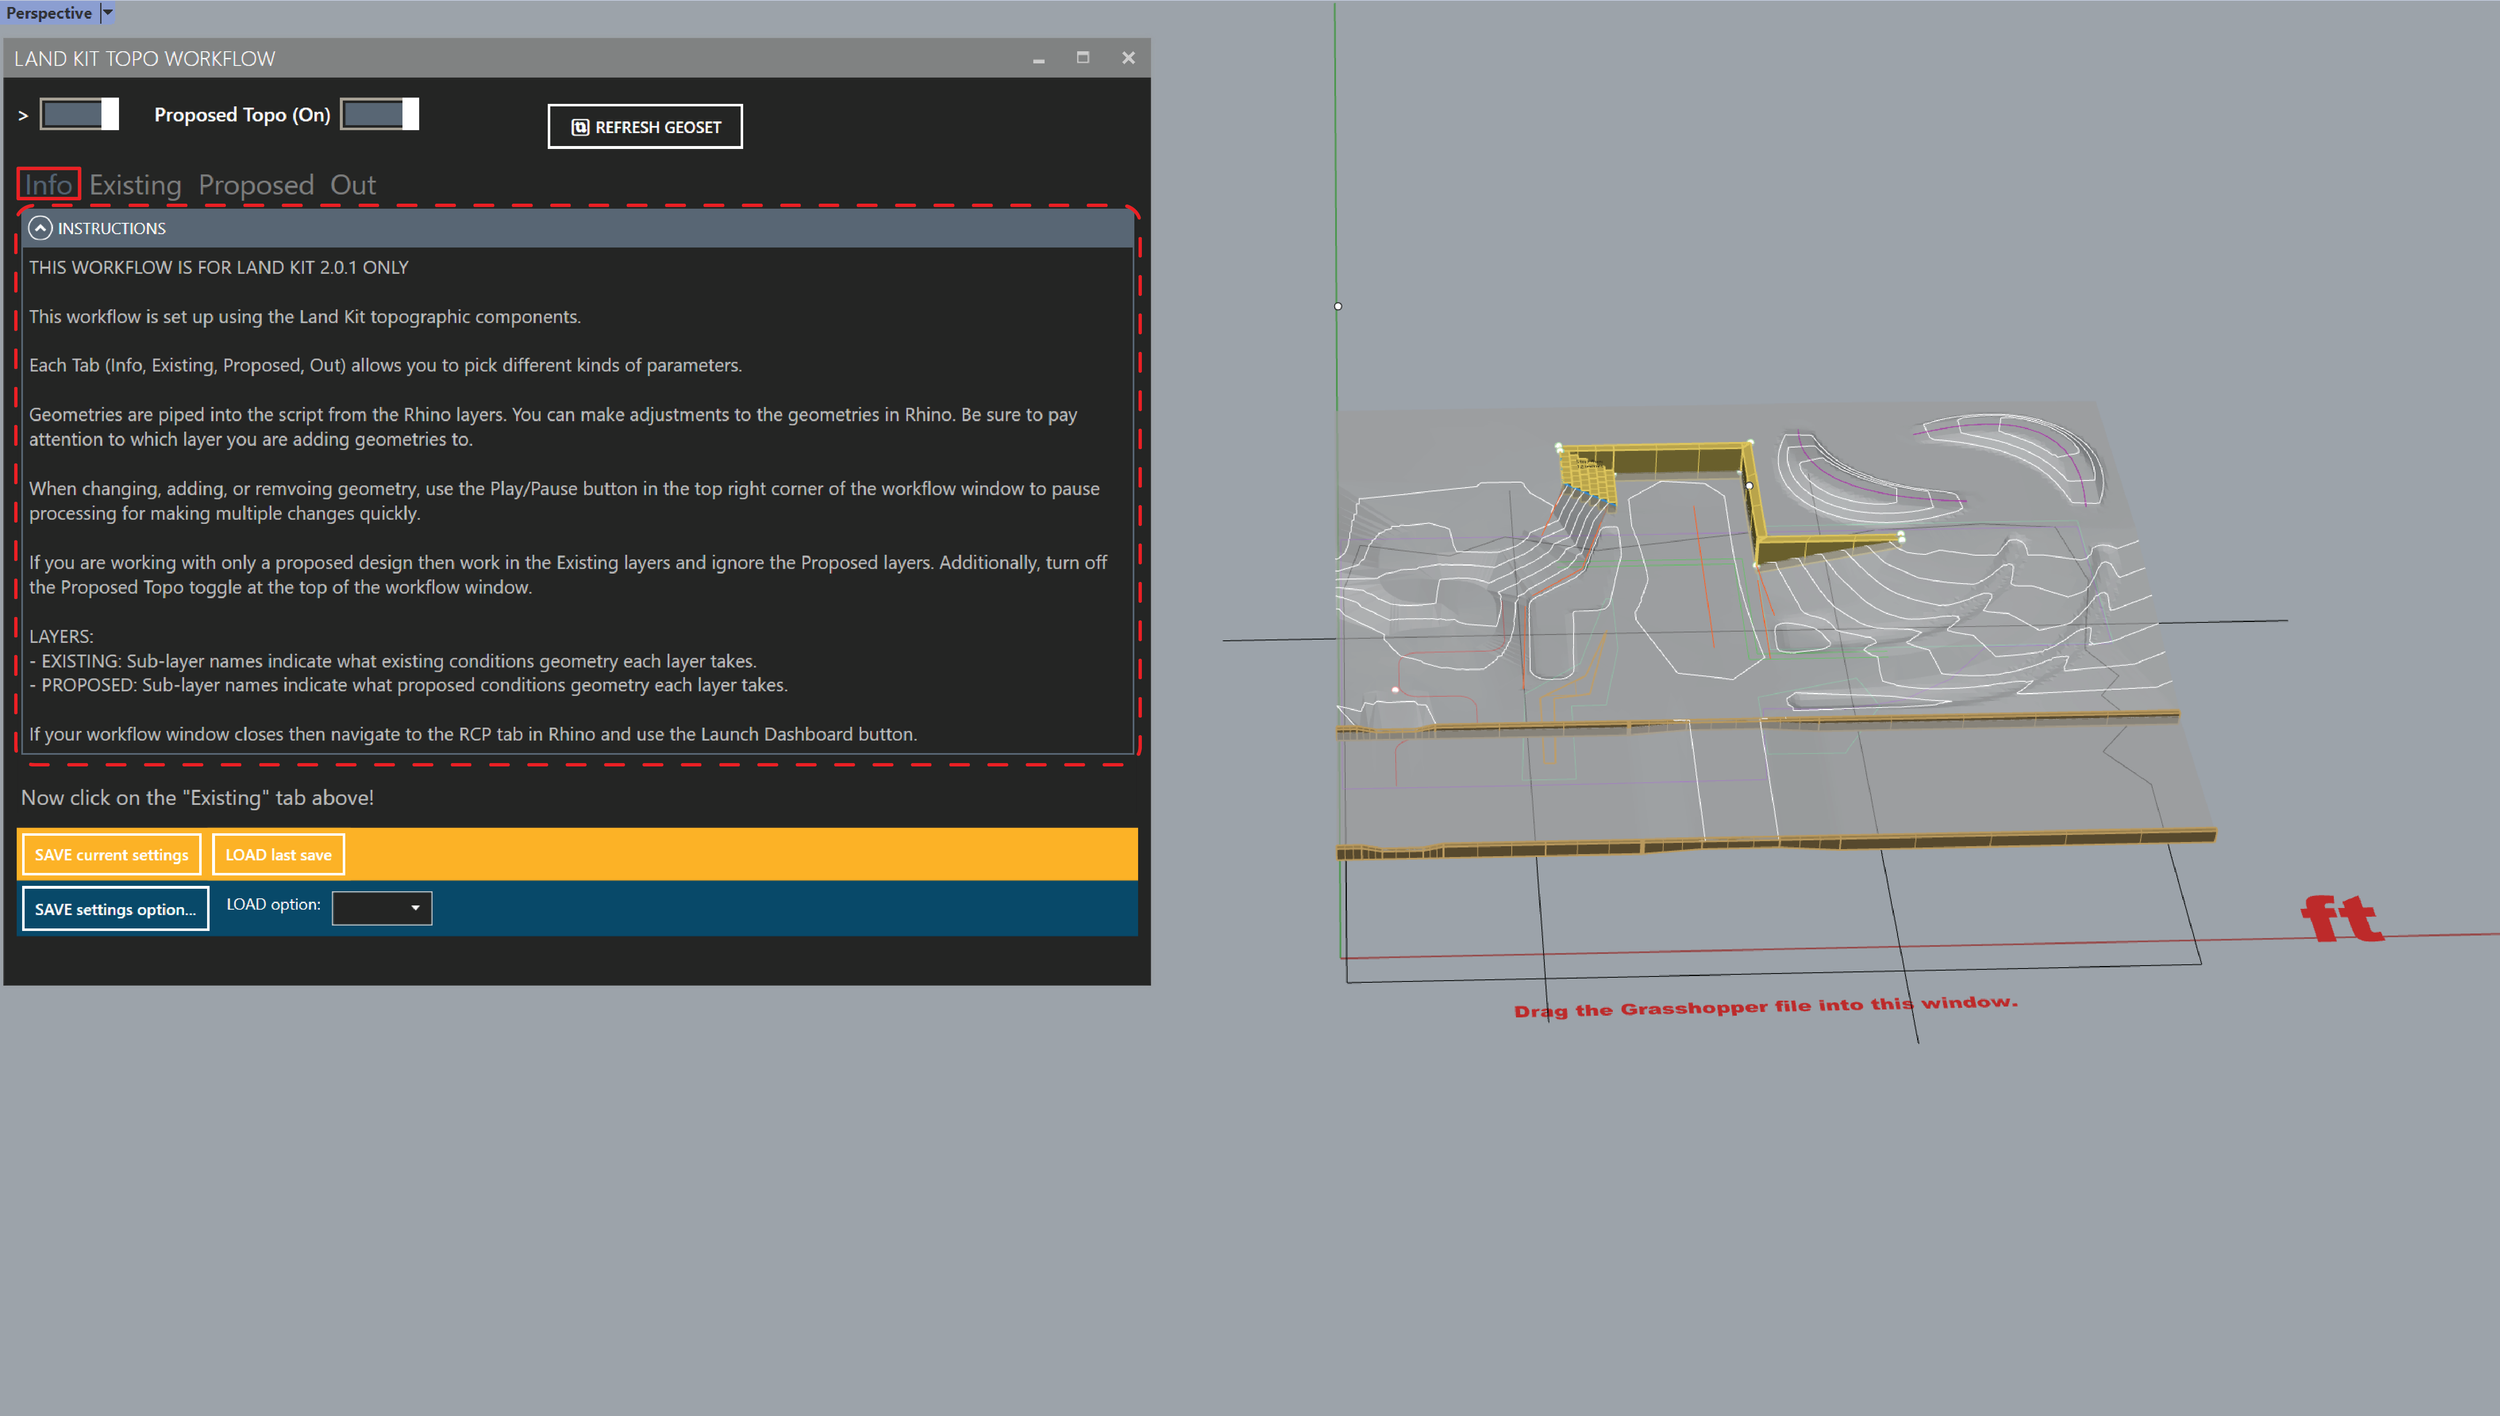
Start by simply dragging and dropping the attached Topo Workflow 2.0 Grasshopper script into the open Rhino template file with either imperial or metric unit, as demonstrated below. You may be asked to install Land Kit or the plugin Human UI, follow the instructions for this in the README.txt.

A window will open, like magic, that will help guide you through your topographic journey. Make sure to read all the information in the Info tab to understand where, how, and why to use certain layers. There is also a video included with the workflow that is very helpful for understanding the workflow.
A few basic rules
The Topo Workflows can be extremely intuitive, but do require a bit of working knowledge to get started. We have provided this brief overview to help you understand why and how certain things work the way they do. Tip/Rule: don’t overlap stuff in plan and you will be in great shape.
BREAKLINES: Lines drawn at elevation (in 3D) on the BREAKLINES layer that basically indicate folds in your topography. Place breaklines where you’d like to fold topography, such as a particularly sharp intersection between contours. It is important to note that you do NOT need to use breaklines along walls or curbs - drawing those features will automatically apply breaklines for you, creating smooth, elegant topography underneath.
SPOTS: Same idea as breaklines, only with points.
CONTOURS: Breaklines and Spots make grading so much easier, but we get it, you probably still cling to contours. We feel you.
OTHER_GEO: Any other geometry you’d like to help shape the topography. This includes Meshes and Surfaces.
Walls and Curbs: To draw Walls and Curbs, simply draw the front and back curves projected flat to the CPlane on the Wall_Curves and Curb_Curves layers. These curves should not be closed. Once you’ve completed that, add spot elevations to the Wall_Spots and Curb_Spots layers at your desired elevation. These will set the elevation of your walls and curbs.
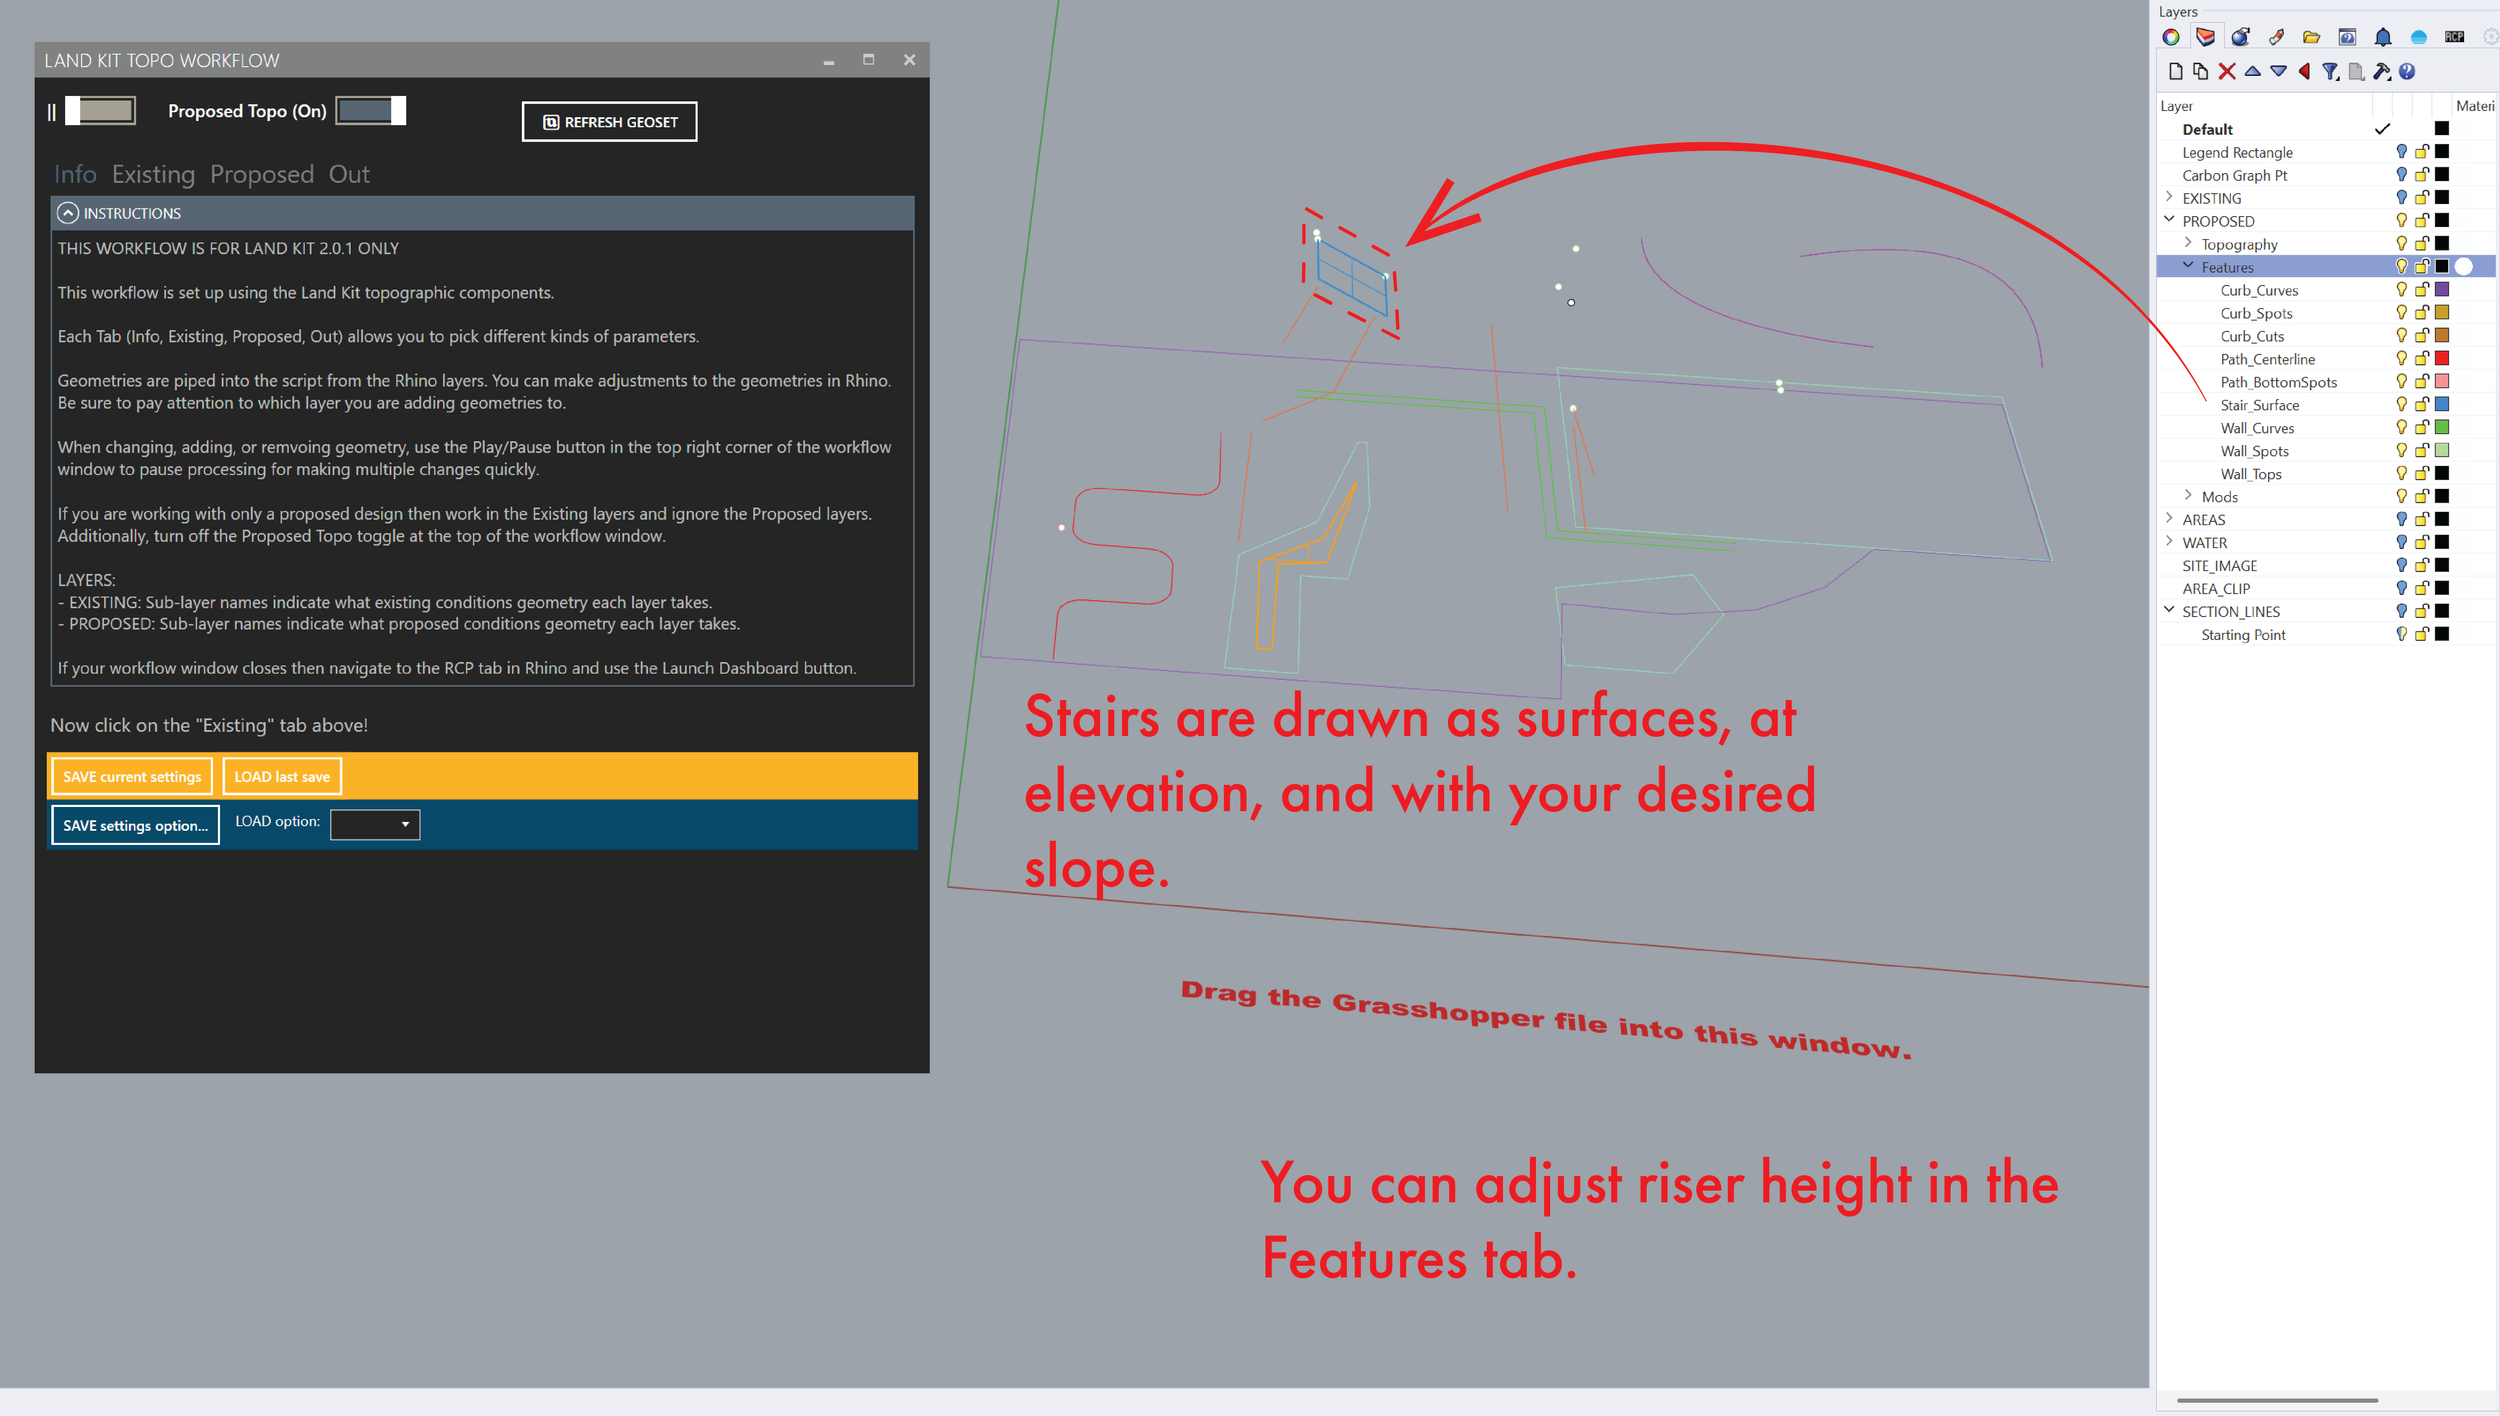
Stairs: These should be drawn at elevation as sloping surfaces representing the slope of your stairs. We find the best way to construct the stair surface input is to draw the top and bottom curve and to loft between them.
Smoothing Mod: These should be closed curves projected flat to the CPlane on the Smoothing_Boundary layer. This will resample the topographic mesh with more points to produce smoothing actions on your topography or for pushing and pulling the topography using the Grade and Sculpt mods.
Grade Mod: These should be drawn at elevation on the Grade_Geometry layer as any type of geometry within a smoothing boundary in plan view. That 3D geometry will pull the topography to that geometry and grade back to the original topography at a specified slope and offset.
Sculpt Mod: These should be drawn as any geometry type projected flat to the CPlane within a smoothing boundary in plan view. The settings you provide will push or pull the topography based on a height, spread, and offset.
Now that we’ve gone over the basics, getting started is easy! Add your geometry to the corresponding layers and you’re ready to go!


Sites of any size
Before you get carried away with drawing too much stuff, you are going to want to set your Site Size. The Topo Workflow comes pre-loaded with settings to make your site work as best it can, and as quickly as it can, at any size. In the Out tab go to the Site Size drop down menu. Selecting the size that you feel best describes your site from Extra Small, Small, Medium, Large, and Extra Large. This will allow Land Kit to decide how detailed to make your site to keep things running smoothly.

Features - fast and easy
As you go, you can add and adjust your features (like walls, curbs, stairs and paths). In the Existing tab and Proposed tab, there is a sub-tab called Features where you can control parameters such as wall and curb tolerances, riser height on your stairs, and path width and slope. All you need to do is change the sliders until you’re happy with your design.
A note about Walls and Curbs: The tolerance value for each of these is the value you want to use to describe how close two curves (front and back) should be to form a pair. If you have a bunch of walls that are .5 feet wide, 1 foot should work nicely to join the curves. the great thing is that you don’t have to sort these curves onto front and back layers the workflow just figures out which curves go with which.

So much more in 2.0, yo
In addition to many of the features included in the earlier versions of the Topo Workflow, the Topo Workflow 2.0 includes a range of new and improved features which include:
Perform water analysis. The powerful water analysis tools are now available while you grade and design your site. Preview water flow, basin volumes, CN values and runoff volumes, and much more!
Calculate your carbon output. The Carbon Workflow is now a part of the Topo Workflow 2.0! Estimate the carbon footprint of your site while you modify land uses and material selections. See a graph and values showing your project’s carbon output based on its lifespan.
Automatic Unit Conversions. The new workflow updates will allow you to use the same Grasshopper script with the imperial or metric Rhino template file. No more need to manage multiple Grasshopper scripts depending on which units the project need.
Expanded analysis and preview options. Use additional visual and analytical tools while you design such as live sections cuts, projecting images to your 3D topography, the ability to clip your Areas to a specified boundary.


The videos and PDFs will help you get going as well.